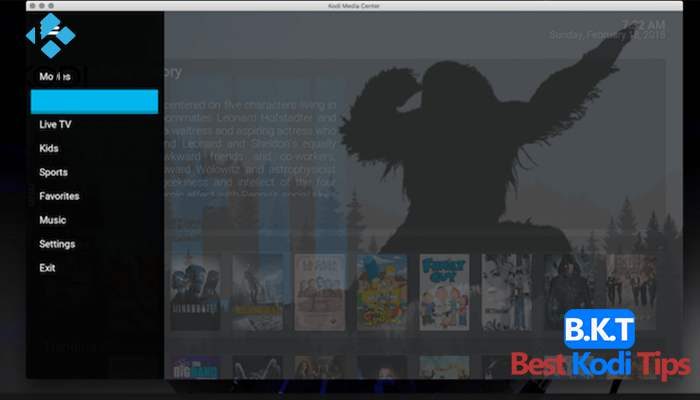
It is very simple and easy to install the Yeti build on Kodi 17.X. It is recommended to clear all the data on your Kodi library to get the best outcome from it. Install Yeti build on Kodi for an outstanding and friendly user interface. If you are searching for a nice looking Kodi build then try Yeti Builds as there are sections that you will like. Our guide in the below section will help you to add this user friendly and attractive build to your library without any kind of problem.
How to Install Yeti Build on Kodi 17.6 Krypton
-
-
- First Get Kodi
- Then Go to Home
- Select Addons
- Click on Settings button
- Enable Unknown Sources
- Go back to home
- Select Settings button
- Click on File Manager
- Select Add Source
- Enter http://paulbunyan.xyz/repo/ in the top box
- Enter lumb in the bottom box
- Select OK
- Go back to Home
- Select add-ons
- Now click on Addon Browser
- Install from zip file
- Select lumb
- Click on plugin.program.Lumberjackwizard.zip
- Wait for “Addon Enabled” notification
- Lumberjack is now installed and ready to use
- Again go back to home
- Select addons
- Click on Program Addons
- Select Lumberjack
- Select your Builds
- The build will now download
- Wait for download
- Click on Force close
- Power off if required
- All done
-


Comments