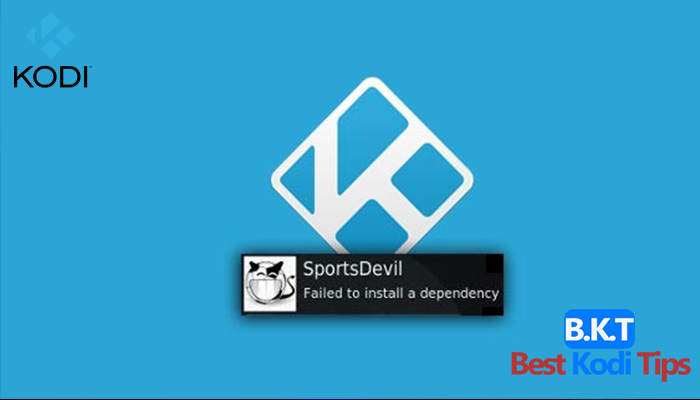
Kodi is an amazing application for watching videos online. We use it routinely and somehow need to install additional plugins to refine its output and efficiency. But, somehow, you may encounter a problem in installing an app or have accounted for a ‘failed to install a dependency’ error. In this post, we will guide you how to fix this error. But, before moving to the tutorial, get to know about the dependency.
How Would You Define Dependency?
Certain add-ons within the Kodi application depend on other plugins. For example, a plugin that is not a stand-alone tool and not a core part of Kodi requires other applications to run its features. An add-on that supports other add-ons is defined as a dependency.
Let me explain the term dependencies with a practical example. If you install a TV guide plugin that is responsible for collecting Television listings from various online sources and forwarding them to the display screen in a list form that is sorted by time, it may show some list timings in AM/PM and others in Hours, like some TV shows will be shown as 1600 hours and some at 04:00 PM.
As a result, the end result will not be clean and clear. To refine the list display, you may need to install an additional addon for converting time referencing to digits. Now, the TV guide plugin will depend on this additional application to show the harmonized timing of various listings.
How to Fix the ‘Failed to Install a Dependency’ Error in the Kodi Application?
There may be various reasons for an unsuccessful installation of a dependency, which is often difficult to recognize. But to fix the issue, you are required to customize the Indigo Config Wizard. Following is an interactive process to remove the error. Please follow the steps and implement the changes.
- Open Kodi application of your device and press the icon shaped as a gear.
- Now, proceed to the ‘file manager’ folder.
- Find the ‘Add Resource’ option and click it twice to move forward.
- A popup window will appear, select the ‘None’ option to provide the source address.
- Enter the media path http://fusion.tvaddons.ag
- Select OK, and the path will be saved.
- You can also write a custom name for the media source for example, ‘KodiDebug’
- Hit ‘Ok’ two times on the popup window
- Go back to the home screen of Kodi
- Click Addons tab from the menu in the left side admin panel
- A box-like icon will appear above the options, click it and hit ‘Install from Zip file’
- Click KodiDebug or whatever name you have given to the media source in the previous steps
- Select Kodi Repos, proceed with the English language and navigate to repository.xbmchub-1.0.7.zip
- Wait for a few moments and the addon will be installed.
- Now select ‘Install from repository’, choose tvaddons.agaddons.repository
- Click program addons/indigo and hit install.
- Now select ‘Config Wizard’ and click install. Once, the installation is complete, return to the addons section
- Select indigo, the recently installed addon. It may take a second or two before starting up.
- Click the config wizard option, and confirm the installation. Let the addon download and configure.
Once the installation ends, you are done with fixing the ‘failed to install dependency’ error. Just restart the Kodi app, and your issue will be resolved.


Comments